
Learn with Chord Compass
Piano Hand Position: Simple Checks for Beginners
Find a comfortable piano hand position, understand finger numbers and try short keyboard patterns. Learn when to move your hand and how to check your practice.
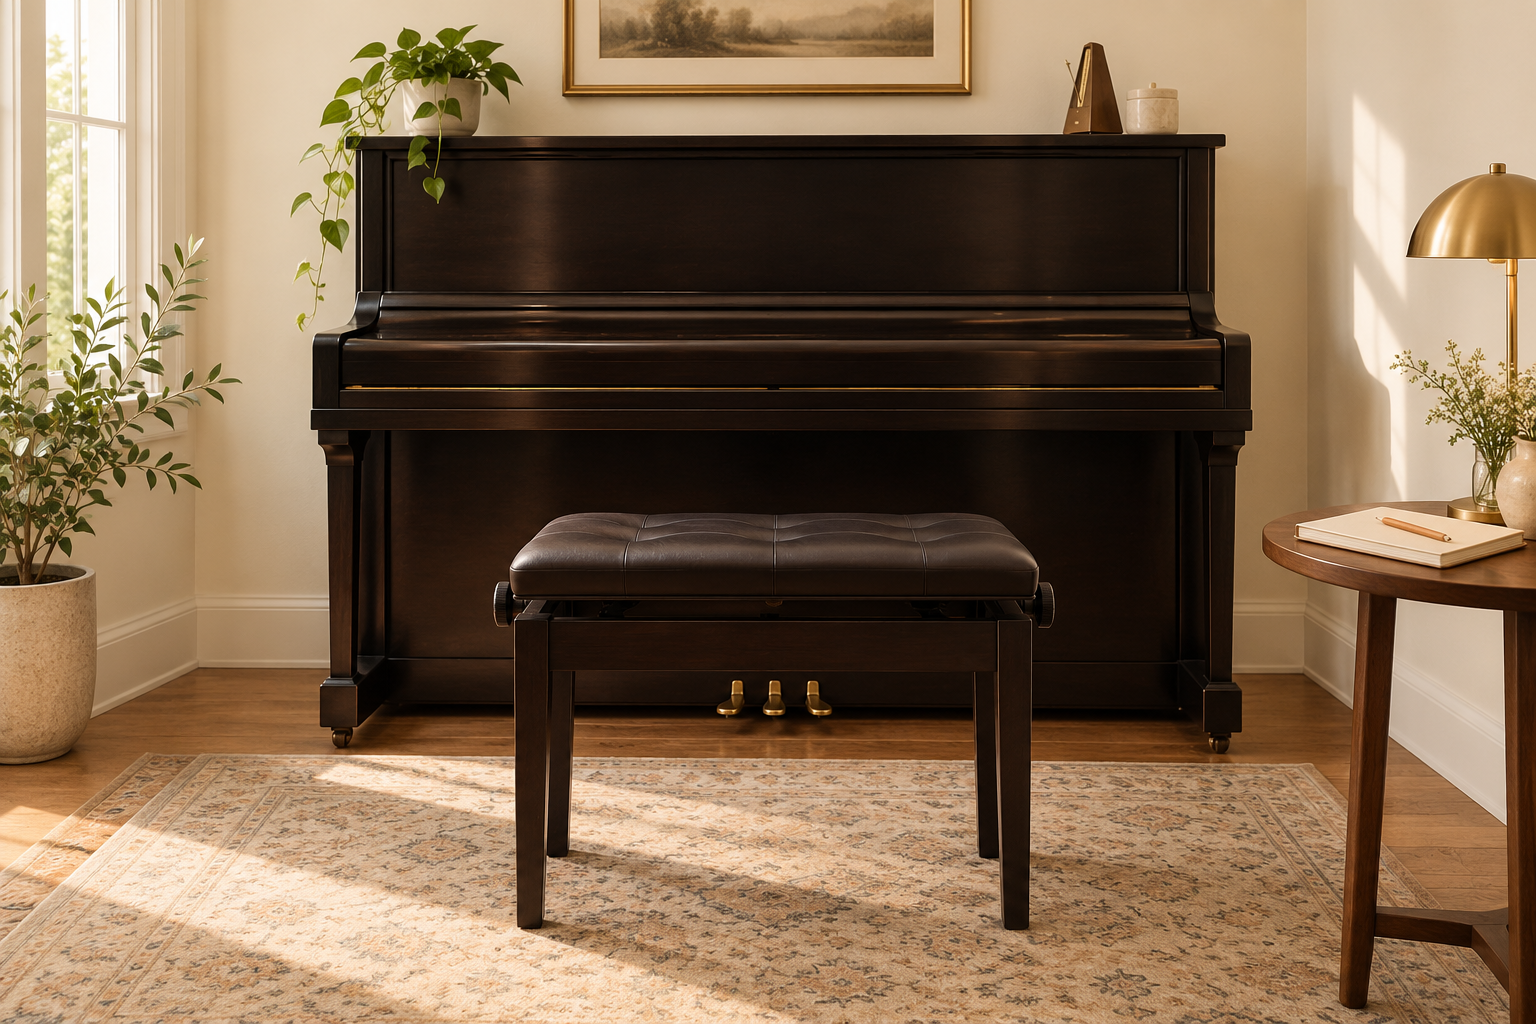
A useful piano hand position lets you find the next note without squeezing, stretching unnecessarily or holding your wrist still. Begin with a gently curved hand and a comfortable seat, then allow the shape to change with the music. A five-finger position is a starting exercise, not a place your hands must stay for every piece.
This lesson separates three questions: how to sit, which finger number to use, and where to place that finger on the keyboard. If you want to connect those foundations with rhythm, reading and harmony, Chord Compass Academy covers those areas in Root Position, Edition 2. First, try the small checks below at your own instrument.
Set up your seat
Place the bench squarely in front of the keyboard. Sit far enough forwards to move your arms freely, while remaining balanced on the seat. Let your feet rest on a stable surface. Then bring your hands to the keys without lifting your shoulders towards your ears.
Bench height is relative to your body and instrument. As a starting check, your elbows can be approximately level with the keyboard. Yamaha's instrument guide to piano posture illustrates this relationship. There is no single bench measurement that fits every player.
Check the distance as well as the height. If your elbows are trapped beside your torso, try giving yourself more room. If you are leaning forwards to reach ordinary notes, bring the seat closer. Make one small adjustment, then test a few notes. The purpose is to leave room for movement rather than to reproduce a rigid silhouette.
On a portable keyboard, check that the stand and seat are stable before playing. Adjust the instrument and bench while you are not playing. A wobbling stand makes it harder to judge what your hands are doing.
Find a natural hand shape
Let one hand hang loosely beside you for a moment. Notice the gentle curve of the fingers. Bring that hand to the keyboard and use a similar unforced curve as your starting point. You do not need to squeeze an imaginary ball or pull every finger into the same angle.
Your thumb approaches a key differently from your longer fingers. It commonly contacts the key near the side of its tip; the other fingers often contact nearer their fingertips. Let the hand adjust to those different lengths. Trying to make every finger look identical can make an otherwise simple pattern awkward.
Keep the wrist available to move with the hand. Neither a sharply raised wrist nor one dropped against the front of the keyboard is a useful shape to hold throughout an exercise. Watch what happens when you move a few keys to the side: the hand, wrist and arm should be able to travel together.
These are starting observations, not a diagnosis of your technique. Do not force a reach or continue through discomfort to imitate a photograph. A hand position that suits one passage may change when the notes, fingering or articulation change.

Learn the finger numbers
Piano fingering uses the same numbers for both hands: thumb 1, index finger 2, middle finger 3, ring finger 4 and little finger 5. The Open University's keyboard fingering examples show how those numbers accompany written notes.
A finger number identifies a finger, not a permanent pitch. A 1 above a note does not mean C. It means use the thumb of the indicated hand. That thumb may play C in one phrase and F in another. Equally, a C can be played by different fingers depending on the surrounding music.
Keep note reading and fingering separate when you practise. First name the pitch, then name the finger you will use. If a printed number is missing, the note still has a pitch. Our lesson on reading piano sheet music explains that link between notation and keyboard.
Try a five-note position
Find C, the white key immediately to the left of a group of two black keys. Choose a group in a comfortable part of the keyboard. For this exercise, place one finger over each white key from C to G. Work with one hand at a time.
| Note, moving upwards | Right-hand finger | Left-hand finger |
|---|---|---|
| C | 1 | 5 |
| D | 2 | 4 |
| E | 3 | 3 |
| F | 4 | 2 |
| G | 5 | 1 |
Play C, D and E, then stop. Check whether you can release the keys without keeping the other fingers stretched upwards. Next play E, D and C. Listen for three distinct notes and leave a pause before repeating. You are checking the movement, so speed adds nothing to this first attempt.
Try the left hand in a lower register where it has room. The finger numbers now run in the opposite direction as the notes rise: 5, 4, 3, 2, 1. That reversal follows the shapes of the hands; it does not change the note names.
The table gives one convenient exercise fingering. It does not require both hands to share the same C, and you need not play them together. Leave enough space between the hands that you can observe each without crowding.
Move beyond one position
After a short C-to-G pattern, release the keys and move the whole hand to another nearby group. For example, place the right thumb on D and let the other fingers find E, F, G and A. This is a location exercise. Those five white notes are not the first five notes of a D major scale, which would include F-sharp.
Notice how a small move of the arm helps the fingers arrive over the new notes. Avoid leaving the thumb behind while pulling the little finger towards a distant key. Pause, move and prepare the next group. Later, a piece may ask you to connect that movement without a gap.
Black keys also change where the hand sits. They extend farther back than the front ends of the white keys, so the hand may need to move inwards to reach a mixed group comfortably. Do not assume that your fingertips must remain on a single line across the keyboard.
A wider chord is a different task from a five-note melody. If you are beginning with chords, our piano chord lesson gives small major and minor examples. Try their notes separately before attempting to sound them together.
Check one thing at a time
Looking for every possible fault at once can interrupt the music. Choose one observable question for a short phrase, then listen to the result. For example, watch whether your thumb waits near its next key or pulls away after each note. Repeat the same phrase with a quieter, smaller movement and compare.
- If your shoulders rise: pause and revisit the seat height and distance before changing your fingers.
- If a finger misses its key: name the next note and prepare the hand above it before playing.
- If the hand stays stretched: release after a small group and reset, instead of holding the widest shape between phrases.
- If notes sound uneven: shorten the pattern and listen to each note's start. Do not compensate by pressing harder after the key is already down.
A short recording can show movements that are difficult to notice while you play. Place the camera where both the hand and keyboard are visible. Compare two attempts at the same slow phrase. You are looking for a clear difference, such as a thumb arriving sooner, rather than judging whether your hands look like someone else's.
Practise a short phrase
Try this original right-hand pattern on adjacent white keys: C-E-D-F-E-C. Use fingers 1-3-2-4-3-1. Give each note the same duration and leave a deliberate pause at the end. There is no need to add the pedal.
On the first attempt, name the notes. On the second, check that you can release each finger after its note. On the third, listen for an even pace. Keeping the musical material the same makes those three observations easier to compare.
Write one useful observation in your notebook. “I released the thumb before moving to D” gives you something specific to repeat. “My technique is bad” does not identify an action. End the exercise while you can still pay attention, then use the same small check in a simple piece.
Frequently asked questions
Should my fingers always be curved?
A gentle curve is a useful starting shape, but the amount changes with the passage and your hand. Avoid gripping the shape. Playing black keys, reaching a chord and moving between positions can call for different adjustments.
Does the right thumb always play middle C?
No. That is one possible starting exercise. Finger numbers identify fingers; note names identify pitches. The right thumb can play other notes, and another finger can play C when the phrase calls for it.
Where should my left hand begin?
For the exercise here, choose a C below the right-hand group and use fingers 5-4-3-2-1 on C-D-E-F-G. In a piece, follow its notes and useful fingerings rather than assuming a permanent left-hand position.
Should I keep my wrist completely still?
No. Keep it available to accompany the hand's movement. A beginner position is a reference point, not a requirement to freeze the wrist while the fingers reach in every direction.
What if a chord is uncomfortable to reach?
Stop trying to hold the shape. Play its notes separately, choose a smaller exercise or seek individual help with the passage. Do not force your hand to match a diagram or another player's reach.
Choose your next step
For piano foundations alongside rhythm, reading and harmony, explore Chord Compass Academy's Root Position, Edition 2, a 301-page PDF, and try its two-chapter preview.